


Very recently, Heroku has decided to remove their free tier, so we'll now need a paid plan to host our applications on Heroku, starting November 28, 2022.
In this thread, let's look at a free alternative for Heroku, a relatively new company Render, that provides cloud infrastructure to deploy software and services.
What we'll need
Creating a simple Flask Application
Flask is one of my favourite Python frameworks because it's minimal and easy to use. The boilerplate code for Flask is barely 3-4 lines.
Let's create a standard endpoint that returns Hello world.
If you don't wish to start from scratch, you can clone this GitHub repository and proceed to the final step
Creating a Python Virtual Environment
Before we install Flask, we need to create a virtual environment that can store all our Python dependencies.
Let's open up the Command line and run these commands based on our Operating System to set up a virtual environment.
# Creating a new folder
mkdir sample-flask-app
cd sample-flask-app

# Linux
sudo apt-get install python3-venv    # If needed
python3 -m venv .venv
source .venv/bin/activate

# macOS
python3 -m venv .venv
source .venv/bin/activate

# Windows
py -3 -m venv .venv
# Use forward slashes if you are using Git Bash
.venv\scripts\activate
Installing Dependencies
After that, let's update the python package manager pip and install flask.
python -m pip install --upgrade pip
python -m pip install flask gunicorn
If you're wondering what gunicorn is, it's a tool that serves your Python code, i.e. your Flask app in production.
Setting up the Flask Application
Once we have our environment set up with the required dependencies, we can move forward to create our Flask Application.
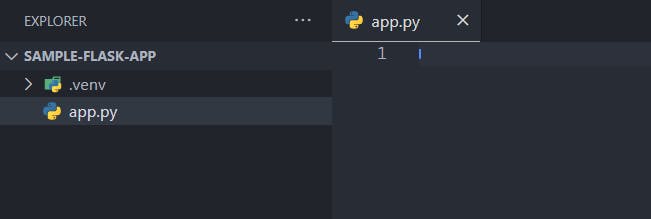
To do so, create a python file with the name app.py in our project folder and open it in your favourite text editor cough I mean VSCode.
Now, let's write the code for creating a Flask application.
# Importing Flask
from flask import Flask, jsonify

# Creating an instance of the Flask class
app = Flask(__name__)

# Creating a new endpoint with this instance as a function decorator
@app.route('/')
def hello_world():
    return jsonify({
        "message": "Hello World."
    })

# Starting the Server
if __name__ == '__main__':
    app.run()
We can run python app.py on our command line to see whether everything works fine.

In a new shell window, we can use the curl command to see if the endpoint is working or look up localhost:5000 on the browser.
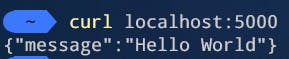
Now we know that our application is working fine. We can proceed towards deploying it.
Creating a requirements.txt file
When we deploy our application to Render, it runs on a remote cloud virtual machine. To ensure that the remote instance knows the dependencies we're using, we need to keep it updated in a separate file.
Let's run pip freeze > requirements.txt on our command-line.
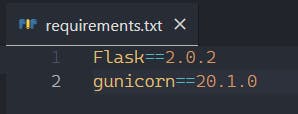
We can see there is a new file requirements.txt that has been created.
On opening this file, we can look at the dependencies that are stored in our python environment.
We can remove all the sub-dependencies that may have popped up and just keep Flask and gunicorn.
Pushing the code to GitHub
Firstly, we need to create a new empty Repository on GitHub. Then, we'll have to initialize a local Git Repository on our system.
Run these commands in the same project folder to push your code to GitHub
# Initializing a Git repository
git init

# Creating a .gitignore file, adding the .venv directory to .gitignore
cat << EOF | sudo tee .gitignore
.venv
EOF

# Adding Files to the staging area, making a commit
git branch -M main
git add .
git commit -m "Ready for deployment"

# Connecting the local repository to the public GitHub repository we previously created.
git remote add origin <link_to_github_repository.git>

# Pushing the changes
git push -u origin main
Our code is now on GitHub!
Deploying to Render
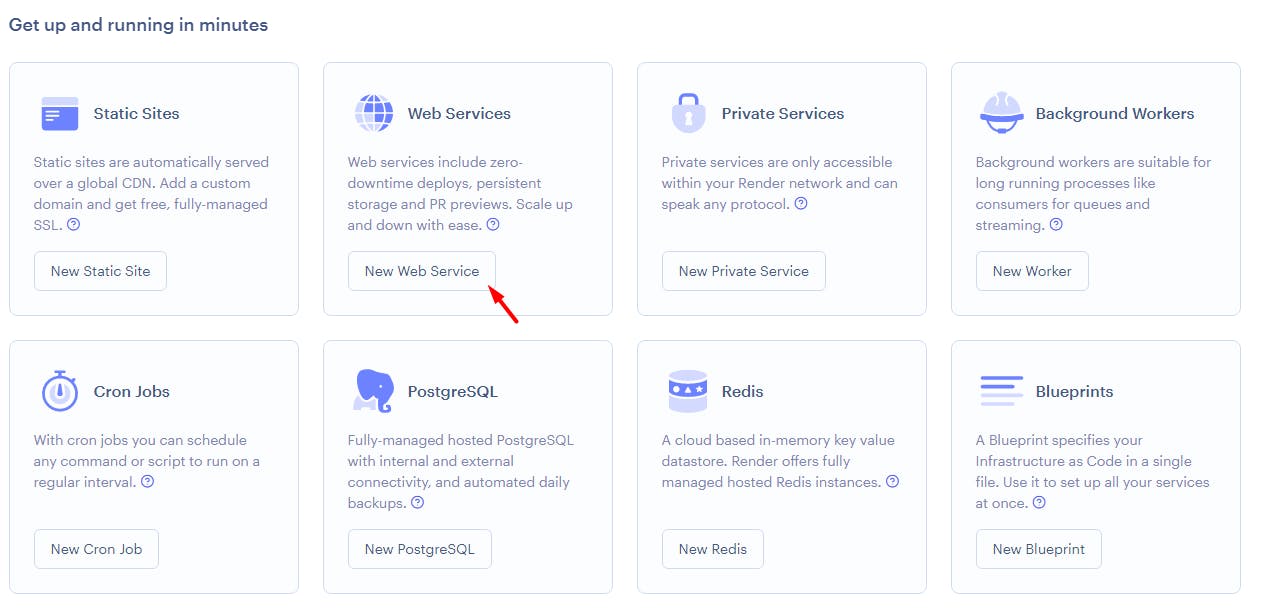 Once you sign up on Render, you'll be redirected to the Render Dashboard. Click on "Web Service" to proceed with our Deployment.
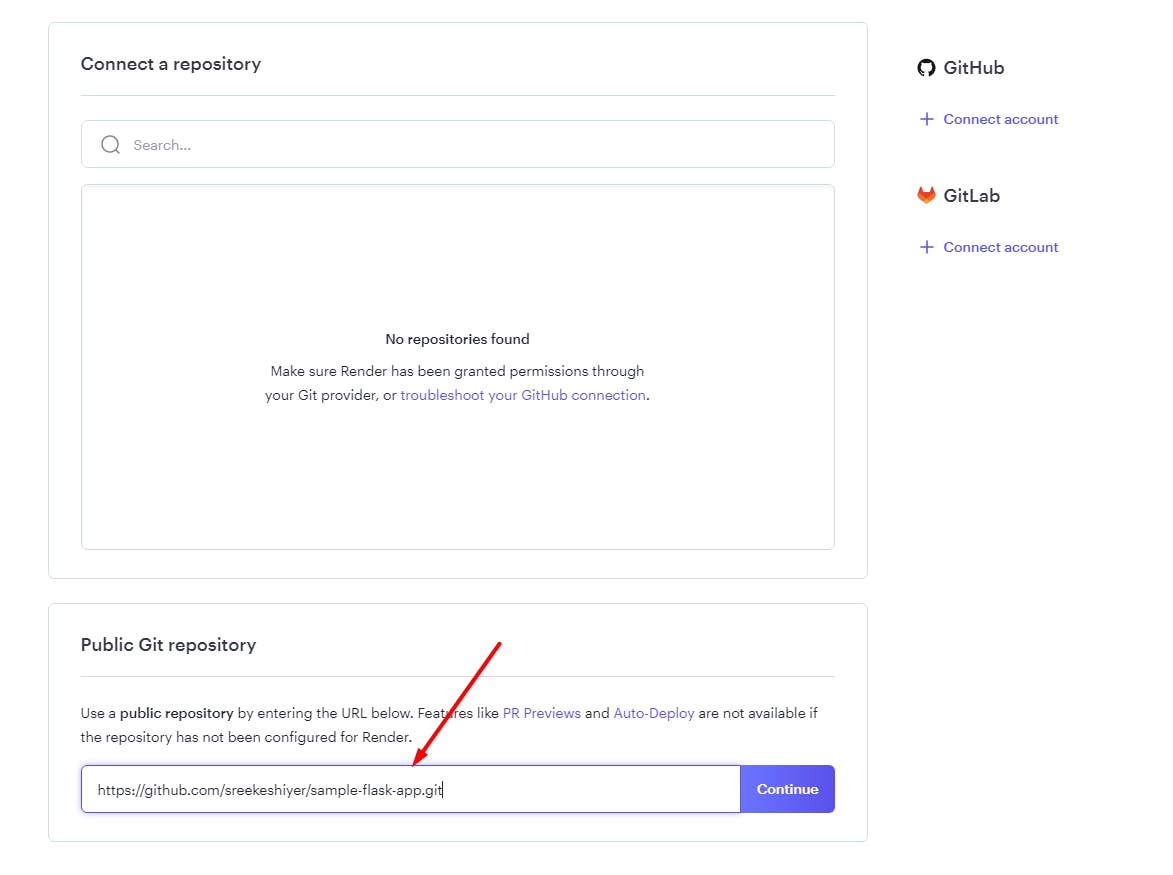
We can either connect our GitHub account or drop the link to a Public repository.
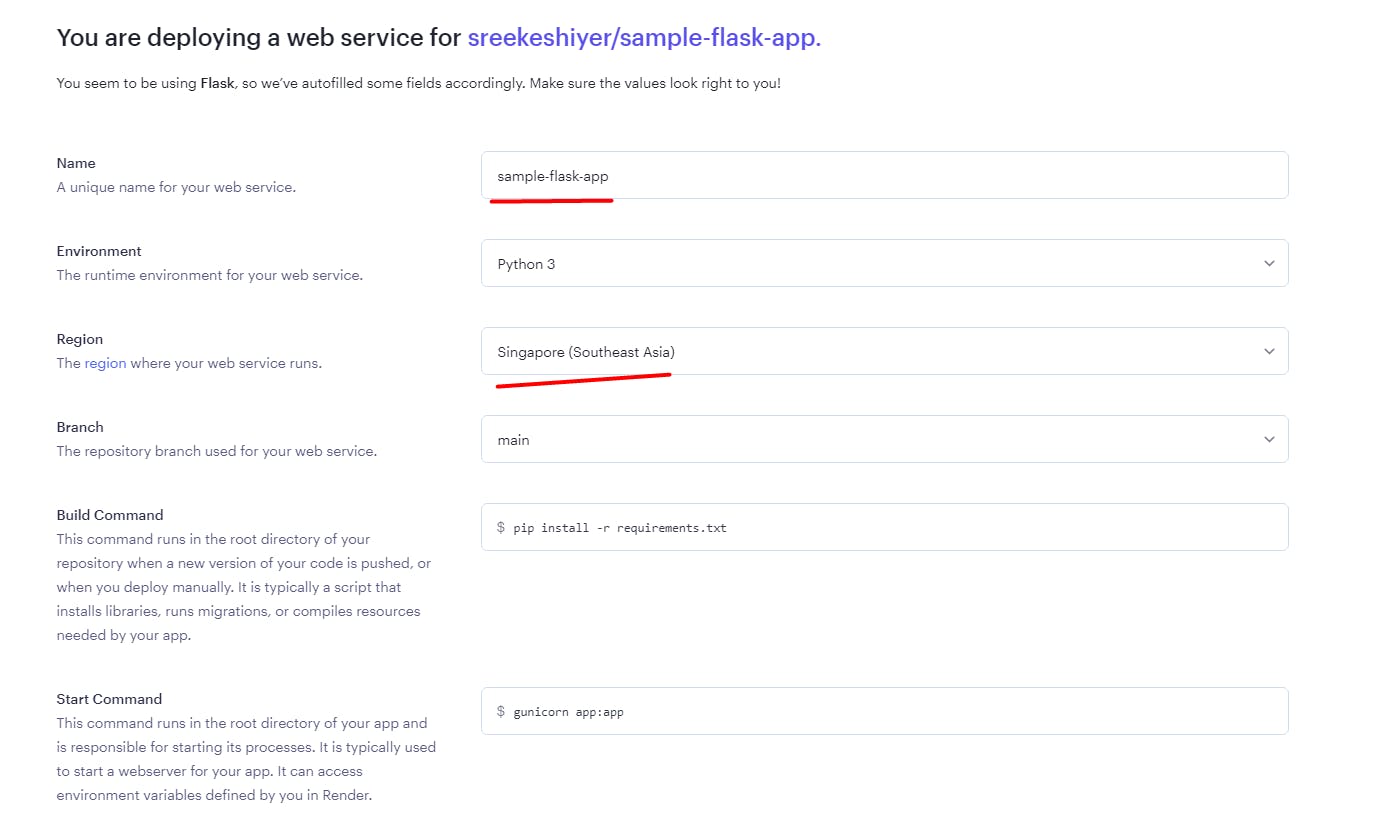
All we need to do now is to choose a name for our service and a region. I'll go with Singapore since that's the closest to my location.
Once that is done, click "Create Web Service" to deploy your application.
Results

In a few minutes, your application will be deployed on Render! You can look up the API using the provided domain name.

Congratulations, you've successfully deployed your Flask App to Render for free! I look forward to using Render for more server-side applications in the future. I hope you do as well.
Thanks for reading.